Saturday, September 22, 2012

SSR 3 - Java Animation

Check out the first two parts to follow along from the beginning:
Part 1 - Building the GUI
Part 2 - Key Listener and Scheduler

Continuing with the Sword Sword Revolution game, today I decided to tackle animation. Specifically, I needed the ability to randomly generate the arrow images, and then scroll them along the bottom of the screen, right to left. This proved to be much more difficult than I had originally imagined, and I owe a huge thanks to the folks over at StackOverflow, specifically Hovercraft Full of Eels and Aurelien Ribon.

When it comes to animating in Java, there are a few options. Many people try to create their own Layout Manager or use the null layout option and just set the location of a component and then repaint the container. I even tried the second one, but learn from my mistake. Null layout is NOT a good idea and both of these options just make things more difficult. Other options include using an external library such as SlidingLayout or The Universal Tween Engine, or the route that I decided on: overwriting the existing paintComponent function.

The first thing I needed to do was create a new class that extended JPanel. The reason for this is that in order to customize the paintComponent function, you have to have a custom class. This class is very specific to my exact needs, but can easily be modified for other projects.

First, I needed to manage the necessary imports and instantiate the necessary instance variables.

import java.awt.Color;
import java.awt.Dimension;
import java.awt.Graphics;
import java.awt.Graphics2D;
import java.awt.RenderingHints;
import java.awt.event.ActionListener;
import java.awt.image.BufferedImage;
import java.io.File;
import java.io.IOException;
import java.util.LinkedList;
import java.util.Random;

import javax.imageio.ImageIO;
import javax.swing.JPanel;
import javax.swing.Timer;

public class AnimatedPanel extends JPanel {

 private static final long serialVersionUID = -7564181037729291253L;
 private static final int PREF_W = 600;
 private static final int PREF_H = 100;
 private static final int TIMER_DELAY = 15;
 private LinkedList images = new LinkedList();
 private BufferedImage rightarrow, leftarrow, uparrow, downarrow;
 private LinkedList xLocs = new LinkedList();
 private int moveSpeed = 3;
 private long totalTime = 0, nextNewTime = 0;
 private static Random r;
}


Next, I created the constructor. Here I needed to instantiate a few variables, load my image files, and then schedule a timer thread to add new arrow images, and move the arrow images currently on the screen.

 public AnimatedPanel() {
  r = new Random();
  try {
   rightarrow = ImageIO.read(new File("src/images/arrowright.gif"));
   leftarrow = ImageIO.read(new File("src/images/arrowleft.gif"));
   uparrow = ImageIO.read(new File("src/images/arrowup.gif"));
   downarrow = ImageIO.read(new File("src/images/arrowdown.gif"));
  } catch (IOException e) {
   System.exit(0);
  }

  new Timer(TIMER_DELAY, new ActionListener(){
   public void actionPerformed(java.awt.event.ActionEvent e) {
    int index = 0;
    totalTime += TIMER_DELAY;
    if (totalTime >= nextNewTime)
     addArrow();
    for(int imgX : xLocs)
    {
     xLocs.set(index, imgX - moveSpeed);
     index++;
    }
    repaint();
   };
  }).start();
 }


The Timer used here is the javax.swing.Timer, NOT the java.util.Timer class. The TIMER_DELAY parameter is passed in milliseconds, and then the ActionListener which calls its actionPerformed function whenever the delay is reached. This Timer runs indefinitely until you manually cancel it, which we don't particularly care about for the purposes of this project.

The function I wrote to add an arrow image to the screen uses a random number generator to decide which of the four arrow directions should be added. It also sets the initial x location to be 600 which is just off the edge of the screen.

 private void addArrow() {
  int arrow = r.nextInt(4);
  nextNewTime = totalTime + r.nextInt(1000) + 300 + (300 / moveSpeed);
  switch(arrow){
  case 0:
   images.add(rightarrow);
   xLocs.add(600);
   break;
  case 1:
   images.add(leftarrow);
   xLocs.add(600);
   break;
  case 2:
   images.add(downarrow);
   xLocs.add(600);
   break;
  case 3:
   images.add(uparrow);
   xLocs.add(600);
   break;
  }
 }


Finally, I need to override the existing paintComponent function with my own, custom version. Essentially, I just need to determine the proper location for each of the images on the screen, and then display them.

 @Override
 protected void paintComponent(Graphics g) {
  super.paintComponent(g);
  Graphics2D g2 = (Graphics2D) g;
  g.setColor(Color.LIGHT_GRAY);
  g2.setRenderingHint(RenderingHints.KEY_TEXT_ANTIALIASING,
    RenderingHints.VALUE_TEXT_ANTIALIAS_ON);

  int index = 0;
  for(BufferedImage image : images)
  {
   if (image != null) 
    g.drawImage(image, xLocs.get(index), 10, 65, 65, this);
   index++;
  }
 }   


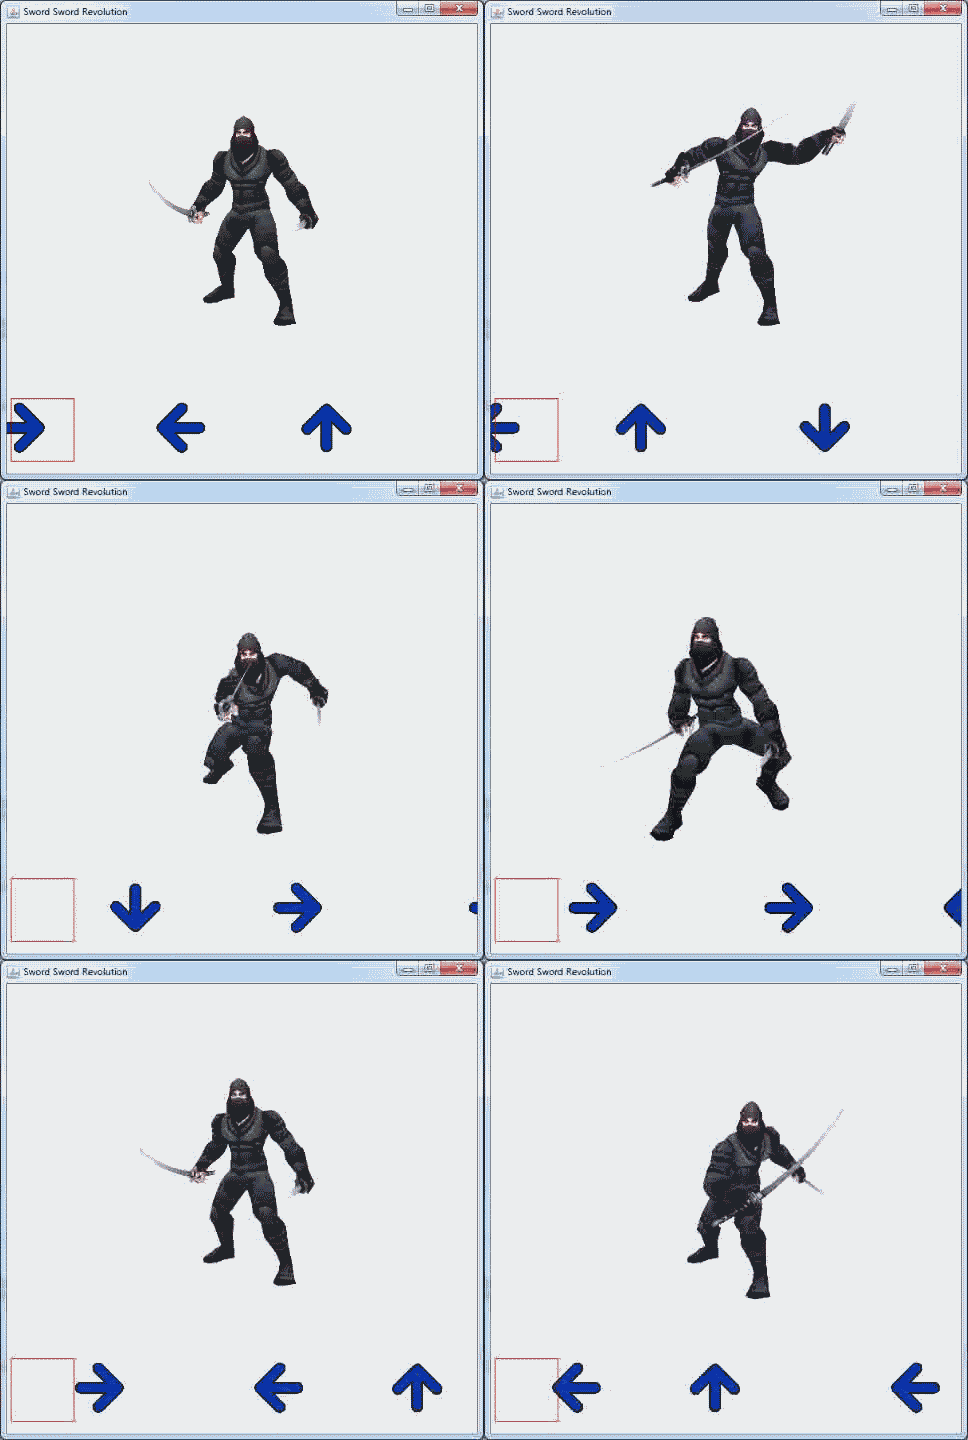
And with that, we have animated arrows scrolling across the bottom of the screen.
Photobucket

Sword Sword Revolution - Part 2

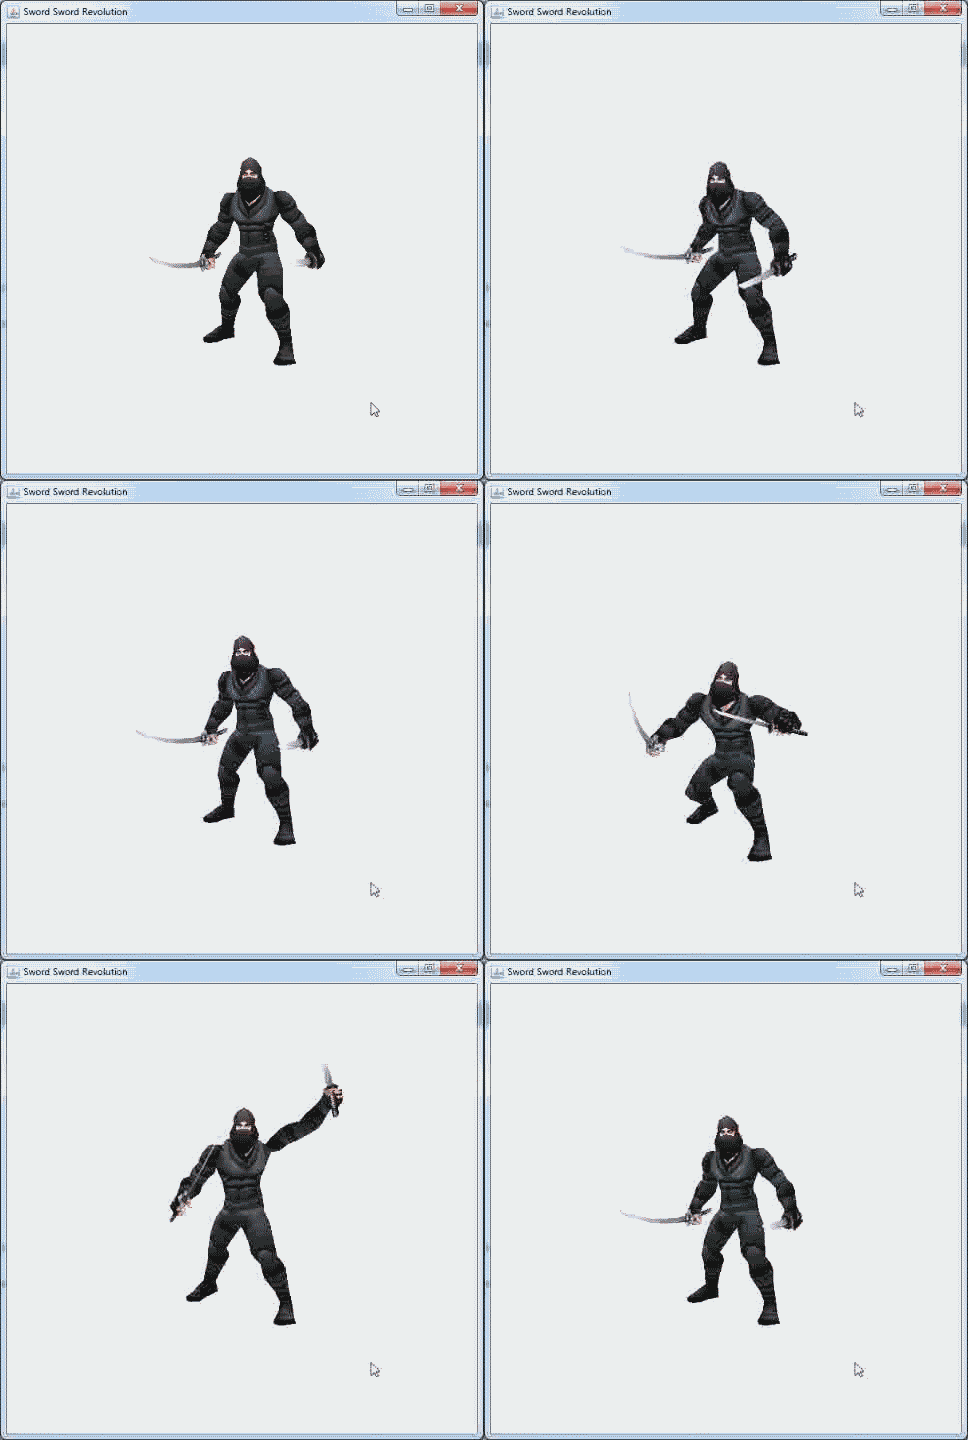
Continuing from yesterday, I have added a few new features to my Sword Sword Revolution game. For today, I decided to tackle user input. Specifically, my goal was to handle listening for the user to press an arrow key, and then change the animated GIF accordingly. After a short delay, I would return to the original waiting GIF.

The first thing I did was to add a KeyListener to my JFrame. Java's KeyListener requires three methods: keyPressed, keyReleased, and keyTyped. For my purposes, I really only care about keyPressed, but all three have to be defined. Here is my code for adding the KeyListener.

 public static void main(String[] args)
 {
  GameWindow g = new GameWindow();
  frame = new JFrame("Sword Sword Revolution");
  frame.add(g);
  frame.addKeyListener(new KeyListener(){
   public void keyPressed(KeyEvent e) { processKey(e.getKeyCode()); }

      public void keyReleased(KeyEvent e) {  }

      public void keyTyped(KeyEvent e) {  }
  });
  frame.setSize(600,600);
  frame.setDefaultCloseOperation(JFrame.EXIT_ON_CLOSE);
  frame.setVisible(true);
 }


I chose to just add a new KeyListener() call directly in the addKeyListener call, but you can also create a KeyListener object separately by writing a custom class that implements KeyListener.

I just ignore keyReleased and keyTyped by not putting anything in their brackets. However, when the user first presses a key down, I want to register what key they pressed and then do some action. Therefore, in keyPressed, I make a call to a function processKey, and pass it an integer representation of the key that was pressed.

public static void processKey(int key)
{
 switch(key)
 {
 case 37:
  mainWindow.setIcon(left);
  break;
 case 38:
  mainWindow.setIcon(forward);
  break;
 case 39:
  mainWindow.setIcon(right);
  break;
 case 40:
  mainWindow.setIcon(backward);
  break;
 }
        frame.repaint();
}


My processKey function takes an integer, and then uses a switch statement to decide what to do. The arrow keys represent numbers 37-40, so I have specific cases for each of those. I do not care if the user presses any other button, so I do not need a default case. This is fairly simple, I just want to change the animated GIF being displayed. I also have to make sure to repaint the frame so the change appears on screen. There is just one problem now. When I press a button, the picture changes, but it stays changed. What I want is for the new animation to be run once, and then return to the waiting animation.

In order to handle this, Java has something called a ScheduledExecutorService. This is a class that allows you to schedule a future event, and it requires two objects: a ScheduledExecutorService object and a ScheduledFuture object. I create both of these objects at the top of my class, and then instantiate them after my switch statement.

scheduledExecutorService = Executors.newScheduledThreadPool(1);

scheduledFuture = scheduledExecutorService.schedule(new Runnable() {
 public void run() {
  mainWindow.setIcon(ready);
 }
},
1,
TimeUnit.SECONDS);

scheduledExecutorService.shutdown();


Basically, what this code does is creates a thread, waits 1 second, and then runs the run function of my Runnable object. Once that completes I am free to shutdown the thread.

There is still an issue, however. If I press more than one arrow key during that 1 second, the animation is off. The second animation interrupts the first one, but the scheduler is still running in the background. So 1 second after the first button gets pressed, the last button pressed gets interrupted. I want to cancel the scheduled run if it exists and a new one is being created, so at the top of my processKey function I add:
try { 
   scheduledFuture.cancel(true); 
  } catch(Exception ex){}


The reason for the try...catch statement is because when you first press a button, there is nothing scheduled. This results in cancel() throwing a NullPointerException. We want to safely catch that Exception and just move on if there is nothing to cancel. Voila! I can now change images at the press of a button!

Photobucket

Another thing to note, in order to call functions and reference variables from within a static method, those methods and variables also have to be static. Here is the full code of the game so far:

import java.awt.BorderLayout;
import java.awt.event.KeyEvent;
import java.awt.event.KeyListener;
import java.util.concurrent.Callable;
import java.util.concurrent.Executors;
import java.util.concurrent.ScheduledExecutorService;
import java.util.concurrent.ScheduledFuture;
import java.util.concurrent.TimeUnit;

import javax.swing.ImageIcon;
import javax.swing.JFrame;
import javax.swing.JLabel;
import javax.swing.JPanel;

public class GameWindow extends JPanel{
 
 private static JLabel mainWindow;
 private static ImageIcon forward;
 private static ImageIcon backward;
 private static ImageIcon left;
 private static ImageIcon right;
 private static ImageIcon ready;
 private static ImageIcon miss;
 protected static JFrame frame;
 protected static ScheduledFuture scheduledFuture;
 protected static ScheduledExecutorService scheduledExecutorService;
 
 public GameWindow(){
  forward = new ImageIcon("src/images/forward.gif");
  backward = new ImageIcon("src/images/backward.gif");
  left = new ImageIcon("src/images/left.gif");
  right = new ImageIcon("src/images/right.gif");
  ready = new ImageIcon("src/images/ready.gif");
  miss = new ImageIcon("src/images/miss.gif");
  mainWindow = new JLabel(ready);
  this.setSize(600,600);
  this.setLayout(new BorderLayout());
  this.add(mainWindow, BorderLayout.CENTER);
 }
 
 public static void main(String[] args)
 {
  GameWindow g = new GameWindow();
  frame = new JFrame("Sword Sword Revolution");
  frame.add(g);
  frame.addKeyListener(new KeyListener(){
   public void keyPressed(KeyEvent e) { processKey(e.getKeyCode()); }

      public void keyReleased(KeyEvent e) {  }

      public void keyTyped(KeyEvent e) {  }
  });
  frame.setSize(600,600);
  frame.setDefaultCloseOperation(JFrame.EXIT_ON_CLOSE);
  frame.setVisible(true);
 }
 
 public static void processKey(int key)
 {
  try { 
   scheduledFuture.cancel(true); 
  } catch(Exception ex){}
  switch(key)
  {
  case 37:
   mainWindow.setIcon(left);
   break;
  case 38:
   mainWindow.setIcon(forward);
   break;
  case 39:
   mainWindow.setIcon(right);
   break;
  case 40:
   mainWindow.setIcon(backward);
   break;
  }
  frame.repaint();
  scheduledExecutorService =
          Executors.newScheduledThreadPool(1);

  scheduledFuture =
      scheduledExecutorService.schedule(new Runnable() {
          public void run() {
              mainWindow.setIcon(ready);
          }
      },
      1,
      TimeUnit.SECONDS);

  scheduledExecutorService.shutdown();
 }

}

Friday, September 21, 2012

Sword Sword Revolution

It is, once again, time for a new project. I got my hands on a neat little toy called the Makey Makey, which is basically a custom Arduino board that allows you to turn anything into a keyboard. The official Makey Makey website shows some neat ideas, such as playing a computer piano with bananas or Pacman with drawings on a piece of notebook paper, but I had my own idea. You see, I also got another new toy, a sword. It's just for decoration, but if I can use my new sword as a keyboard, you know I am going to. The question then became, what should I use my sword to do? And, of course, the answer is, "Program your own game!"

After going through a few ideas, I decided to make my own version of Dance Dance Revolution. With swords. Sword Sword Revolution. Played by swinging an actual sword. This is going to be awesome.

So, the first problem to address: what programming language should I use? I have created games in the past in a few different programming languages, notably Java, Python, and VB.NET, and I thought of all of those, as well as giving PHP a try since that is what I program in professionally. I had originally decided on Python, but after some research and a few sample programs, I decided against it. Pygame is great for working with sprites, but an artist I am not. Instead, I had found some animated GIFs to cover all possible actions for my game, and unfortunately, Pygame can not, to the best of my knowledge, display animated GIFs. At least not simply and natively. Java, on the other hand, can display them just fine inside of an ImageIcon object, so that is what I ultimately chose.

Now, I have not touched Java in over a year, so I knew this project could be a bit of a challenge. That is why I started out with the basics. I knew I wanted a general game screen, with a place to display the animation and a place to show the commands, i.e. which button to press. Since this is pretty basic, I decided to use a JPanel with BorderLayout.

Creating just a basic Java Class, I needed to create the JPanel, a JFrame to hold the JPanel, load the images, and store the required image in a JLabel, which would be displayed in the JPanel. So, basically, JFrame > JPanel > JLabel > ImageIcon.


import java.awt.BorderLayout;

import javax.swing.ImageIcon;
import javax.swing.JFrame;
import javax.swing.JLabel;
import javax.swing.JPanel;

public class GameWindow extends JPanel{
 
        //Create the necessary variables to be used throughout the game
 private JLabel mainWindow;
 private ImageIcon forward;
 private ImageIcon backward;
 private ImageIcon left;
 private ImageIcon right;
 private ImageIcon ready;
 
 public GameWindow(){
                //Load the images
  forward = new ImageIcon("src/images/forward.gif");
  backward = new ImageIcon("src/images/backward.gif");
  left = new ImageIcon("src/images/left.gif");
  right = new ImageIcon("src/images/right.gif");
  ready = new ImageIcon("src/images/ready.gif");
                //Create a JLabel with the initial image
  mainWindow = new JLabel(ready);
  this.setSize(600,600);
  this.setLayout(new BorderLayout());
                //Add the JLabel with image. This will be the main focus of the window, so use the CENTER of the BorderLayout
  this.add(mainWindow, BorderLayout.CENTER);
 }
 
 public static void main(String[] args)
 {
                //Instantiate our game window on initial run
  GameWindow g = new GameWindow();
                //We need a frame to put the panel in
  JFrame frame = new JFrame("Sword Sword Revolution");
  frame.add(g);
  frame.setSize(600,600);
  frame.setDefaultCloseOperation(JFrame.EXIT_ON_CLOSE);
  frame.setVisible(true);
 }
}


And with that, I had the basic beginnings of my game. Sure, for now all that it did was display an animated gif, but soon, soon it would do so much more.

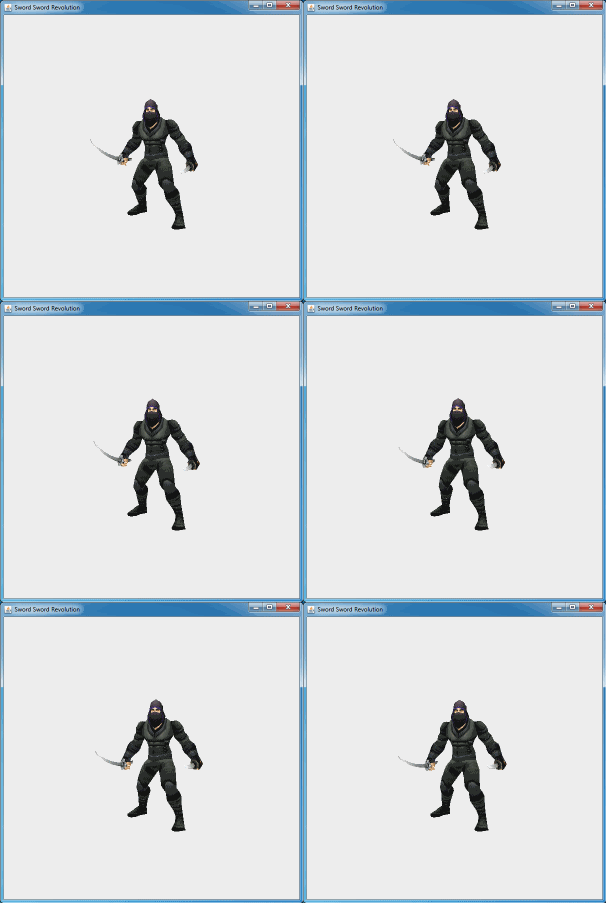
Photobucket

Next, there are four major things that need to happen.

1) I need to change the image in the JLabel when an arrow key is pressed. After a set amount of time, I need to revert the image back to the starting image.

2) I need to add a component to the SOUTH section (or perhaps EAST or WEST) to hold the arrow commands.

3) I need to randomly generate the arrows that come through, and animate them across their box.

4) I need to add a listener that will determine if the user pressed the correct arrow key or not, and the game should react accordingly.

There are also some optional things that would be nice to add:

1) It would be cool if there were enemies animated on the screen. Perhaps coming from the direction you were supposed to swing the sword from. This might be rather challenging, especially since I have the sword swinging left, right, forward, and backward, but would be really neat if I could figure it out.

2) If the player misses a key press or presses incorrectly, I would like a different animation to play.

3) Some background music could be a nice addition.

Friday, March 2, 2012

Wii Weights: An Internet Enabled Scale Using the Wii and Linux

The other day I came across an advertisement for an internet enabled scale that saved your weights and allowed you to view your stats and history online. Being a programmer and not wanting to spend $150 on a scale, I started looking into a way to make my own version. What I found was a creative method using a simple Python script and the Wii Balance Board.

For the purposes of my project, I decided a few steps would be required:

1) Connection would need to be made to the balance board from a computer
2) The sensors would need to have their data sent to the computer
3) Combine the 4 sensors of the balance board into a single weight amount
4) Data needs to be uploaded to Google Docs.

These specific instructions are for Ubuntu 11.4.

Before starting the project, you need to install all required packages. Ubuntu makes this extremely simple with the adt-get command. The entire list of packages you need is as follows:

sudo apt-get install autoconf 
autogen automake gcc bluetooth 
libbluetooth3-dev libgtk2.0-dev pkg-config 
python2.7-dev flex bison git-core 
libbluetooth-dev python-pygame python-tk

At this point, I like to make a new directory to store all of the necessary files. In order to interface with the Wii Remote and Balance Board, I am using an excellent python library called cwiid (pronounced Seaweed) The code for this is stored in a git repository, and needs to be compiled.

mkdir ~/wii
cd ~/wii
git clone http://github.com/abstrakraft/cwiid.git
cd cwiid
aclocal
autoconf
./configure
make
sudo make install
cd python
sudo python setup.py install
git clone git://github.com/videntity/python-omhe.git
cd python-omhe
sudo python setup.py install

With all of this installed, you are ready to start programming using the Wii Remote or Balance Board. Even if you do not want to program for the Wii Hardware, you can use the included program wmgui to see in real time what you are doing with the Wii Remote. Before I get into the actual code, I want to add the ability to save data to a Google Document Spreadsheet. In order to do this I chose to again make a new directory, then downloaded the latest library available from here. Once it is downloaded, installation is as simple as:


sudo python setup.py install

For my actual program, I combined code available from Matt Cutts and the demo from cwiid With some slight modifications. My final code was:

#!/usr/bin/python

import sys
sys.path.insert(0, '/home/anthony/wii/svn/trunk/python/build/lib.linux-i686-2.5/')
import cwiid
import sys
import time
import gdata.spreadsheet.service

def main():
 print 'Put Wiimote in discoverable mode now (press 1+2)...'
 global wiimote
        #if there is a MAC address provided, use it, otherwise make a new connection
 if len(sys.argv) > 1:
  wiimote = cwiid.Wiimote(sys.argv[1])
 else:
  wiimote = cwiid.Wiimote()

 wiimote.rpt_mode = cwiid.RPT_BALANCE | cwiid.RPT_BTN
 wiimote.request_status()

 if wiimote.state['ext_type'] != cwiid.EXT_BALANCE:
  print 'This program only supports the Wii Balance Board'
  wiimote.close()
  return -1

 balance_calibration = wiimote.get_balance_cal()
 named_calibration = { 'right_top': balance_calibration[0],
    'right_bottom': balance_calibration[1],
    'left_top': balance_calibration[2],
    'left_bottom': balance_calibration[3],
   }

 exit = False
 while not exit:
  print "Type q to quit, or anything else to report your weight"
  c = sys.stdin.read(1)
  if c == 'q':
   exit = True
  wiimote.request_status()
  logweight(calcweight(wiimote.state['balance'], named_calibration))

 return 0

def calcweight( readings, calibrations ):
 weight = 0
 for sensor in ('right_top', 'right_bottom', 'left_top', 'left_bottom'):
  reading = readings[sensor]
  calibration = calibrations[sensor]
  if reading > calibration[2]:
   print "Warning, %s reading above upper calibration value" % sensor
  if reading < calibration[1]:
   weight += 1700 * (reading - calibration[0]) / (calibration[1] - calibration[0])
  else:
   weight += 1700 * (reading - calibration[1]) / (calibration[2] - calibration[1]) + 1700

 return ((weight / 100.0) * 2.2)
 
def logweight(weight):
        #replace with your google username, password, and the spreadsheet key available from the spreadsheet URL
 email = 'username@gmail.com'
 password = 'password'
 spreadsheet_key = '6BsFAFER464657d0NlFQdlc0WH45thYUjiaGg2U1E'
 worksheet_id = 'od6'

 spr_client = gdata.spreadsheet.service.SpreadsheetsService()
 spr_client.email = email
 spr_client.password = password
 spr_client.source = 'Weight Logger'
 spr_client.ProgrammaticLogin()

        #Dict keys are the lowercase versions of your column headers
 dict = {}
 dict['date'] = time.strftime('%m/%d/%Y')
 dict['time'] = time.strftime('%H:%M:%S')
 dict['weight'] = weight

 entry = spr_client.InsertRow(dict, spreadsheet_key, worksheet_id)
 if isinstance(entry, gdata.spreadsheet.SpreadsheetsList):
  print "Insert row succeeded."
 else:
  print "Insert row failed."

if __name__ == "__main__":
 sys.exit(main())

This code could easily be modified to achieve many different functions. For example, instead of entering any character to take your weight, it could be changed to take a name, so that multiple users can track their weights. Or maybe you want to set a timer so you don't have to hit a key on your keyboard to save your weight. The possibilities are endless.

Thursday, March 31, 2011

Perls of Wisdom

Playing around some more with Perl I would like to share a few gems that I have discovered. This first comment will only impact any of a small number or users, but if you are programming on a *nix system using Emacs as your text editor you can use a little script to make the shebang appear in all of your perl files. Open up your .emacs file and insert the following code:

(setq auto-insert-directory (expand-file-name "/home/awestove/mytemplates/"\
))
    (setq auto-insert-query nil)
    (define-auto-insert "\\.pl\\'" "autoinsert.pl")
    (add-hook 'find-file-hooks 'auto-insert)

Basically what this is is elisp (emacs lisp) that sets up an auto-insert command. Every time you create a file with the .pl extension in emacs it will automatically insert the contents of autoinsert.pl into the file. Create the directory that you point to in the first line, and in that directory create your autoinsert.pl file. Inside of autoinsert.pl put your shebang ("#! /usr/bin/perl") and anything else you want in every perl file you create.

Sure this only saves a few keystrokes, but most programmers I know are quite lazy. I also created an alias:

alias ep "emacs /home/awestove/perl/\!*.pl"

This short alias means that all I have to type is "ep name" and emacs will open a file name.pl in my perl subdirectory with the shebang on the first line. The joys of automation.

Working some more with Perl I decided the next thing I wanted to focus on was some file I/O and conditional statements. Always good skills to have when learning any programming language, and Perl is no exception. All the better that Perl really simplifies the process of file I/O compared to other programming languages. The command is simply:

open(FILEHANDLE, "fileVariable");

When you want to access the file you use the FILEHANDLE. If you want to open the file for reading place a '<' before the file name, and use '>' for writing. There are a lot of ways you can use this, so I'll just start with the sample program I made to play with some file I/O:

#! C:/Perl/bin/perl
# ask the user to type the file name to read from
print "What file am I reading?";
my $fileIn = <>;
chomp($fileIn);
# and the file name to write to
print "What file should I create to write to?";
my $fileOut = <>;
chomp($fileOut);
# try to open the reading file, $opened is a boolean to signify if the operation was successful
my $opened = open(IN, "<$fileIn");
# unless is sort of an 'if not' statement, unless the file opened, print an error and exit
unless($opened){
     print "I could not open $fileIn";
     exit 1;
}
# if the file did open, try to open the output file
# instead of using an unless, we can just tell it to open 'or die'
# dying prints the given message and exits
open(OUT, ">$fileOut") or die("I could not create $fileOut");
# using the <> command on a specific file handle gets input from that file, instead of the default STDIN
# while loop continues executing as long as something is true, once the last line is read the loop will end
while($line = ){
     # get rid of the new line
     chomp($line);
     # a reg exp, if the line contains the number 1, print it to the screen
     if($line =~ /1/){
          print "$line\n";
     }
}
# the loop left us at the end of the file, we need to reopen to get back to the top
open(IN, "<$fileIn");
# @ means array, this reads the entire file into an array, one line per element
my @lines = ;
# printing to a file handle the sorted array
print OUT sort(@lines);
# closing our file connections
close(OUT);
close(IN);

Note the sort function for arrays, this assumes by default the array is characters, so it sorts based on strings. That is to say if your file was:

1
2
3
10
20
30

It would be sorted to:

1
10
2
20
3
30

All in all the use of file I/O and regular expressions is very simple and powerful with Perl. There is a reason the language is still popular for certain scripting projects.

Monday, March 28, 2011

Learning Perl

Have you ever woken up and said, "Today would be a great day to learn a new programming language?" Today is one of those days and I have decided on learning Perl. Why Perl? Why not! Perl is an older language but still being developed and maintained, and is a dynamic language. Perl supports many different programming paradigms and is particularly powerful for tasks such as text parsing and code generation. For small scripts it is nice to have a basic language that you can just hack out some commands and get the job done, and Perl is an excellent choice for doing that. I am sure Perl has many more uses, but I am just learning it along with you right now, so we will discover those other uses when the time comes.

If you are working on a Macintosh or *nix system, chances are Perl is already installed, but for Windows users you will need to download and install it. I personally recommend ActivePerl which you can download from here. Just download the most recent version for your operating system and follow the instructions. When installing, make sure you check the option to add Perl to the Windows PATH variable.

With Perl installed it is best to follow tradition and start with a Hello World program. Using your text editor of choice create a blank document. The first line in all Perl programs is called shebang and should be something like:

#! usr/bin/perl for *nix
or #! C:/Perl/bin/perl for Windows

Since Perl is interpreted rather than compiled, this shebang points to the Perl interpreter. The rest of the code in the file is sent to the interpreter where it is run. In this program, we are only interested in doing one simple thing, printed a phrase to the screen, also know as standard output. To do this in Perl, like many other languages, the command is simply print followed by the string we want to print, using quotations for literals. So for our hello world program the full code is:

#! C:/Perl/bin/perl
print "Hello World!\n";

Nice and simple. Make sure you note the semicolon at the end of the print command and the lack of the semicolon after the shebang. This is because the shebang is not an actual Perl command, but rather a scripted instruction to the interpreter. Now, this is all well and good, but not overly useful, so let's add a few new things to our program. Some of the most useful things in a programming language are variables and input, so let's add those two features.

Instead of saying hello to the whole world, let's get personal and say hello just to the person running the program. In order to do this, we are going to have to ask there name using standard input. In Perl standard input is signified by <stdin> but by convention can be shortened to <>. To provide a prompt just use the print command. In order to save the answer the user gives us, however, we will need to create a variable, which in Perl is signified by a dollar sign ($). So, to ask the user their name and store it in a variable we would type:

print "What's your name?";
$name = <>;
print "Hello $name!";

Note that their is no need to concatenate the variable into the string literal, the use of the $ tells the interpreter that you want the value of the variable, not a literal $, to be printed to the screen. If you tried actually running this code, you might notice that the formatting seems off, specifically the program prints out a new line after the name before the exclamation point. This is because when the user typed their name, they hit the 'Enter' or 'Return' key, and that new line got saved in the variable as well. To remove this new line we can use chomp:

chomp($name);

Notice that you do not need to do $name = chomp($name); chomp actually modifies the passed in variable directly. With all of this our final program should look like:

#! C:/Perl/bin/perl
print "What's your name?";
$name = <>;
chomp($name);
print "Hello $name!";

And now we have a basic understanding of starting Perl. If you notice that the DOS window closes automatically without letting you see the program, either run the program from the command line, or add an extra <>; as the last line. This will stop the program from completing until you hit enter.

Monday, January 24, 2011

Minesweeper in Java: Part One - GUI

Continuing from yesterdays post about Minesweeper as an introduction to game programming today we are going to start by creating Minesweeper in Java, a traditional starting language. Creating graphical user interfaces is normally more advanced of a topic than a usual starting tutorial, but the basics are quite simple.

For Minesweeper the basic interface for the game is a simple grid with squares. In Java we will do this by creating a JPanel with GridLayout. For simplicity sake we will assume that the grid will always be 10x10. These are set in the constructor.

import java.awt.*;
import javax.swing.*;

public class GameGridGui extends JPanel{

public GameGridGui(){
     this.setSize(400,400);
     this.setLayout(new GridLayout(10,10));
}
}

Once the basic layout is taken care of the next thing that needs to be done is build the squares. There are lots of ways to do this but since we need to click on the squares there is no reason why we shouldn't just use an array of JButtons. Create a method called buildButtons and call it from your constructor.

import java.awt.GridLayout;

import javax.swing.JButton;
import javax.swing.JPanel;

public class GameGridGui extends JPanel{

 private JButton squares[][];
 
public GameGridGui(){
     this.setSize(400,400);
     this.setLayout(new GridLayout(10,10));
     squares = new JButton[10][10];
     buildButtons();
}

private void buildButtons(){
     for(int i=0;i<10;i++){
          for(int j=0;j<10;j++){
               squares[i][j] = new JButton();
               squares[i][j].setSize(400,400);
               this.add(squares[i][j]);
          }
     }
}
}

If you want to test this out to see what it looks like, just create a quick main method with a JFrame.

public static void main(String[] args) {
  GameGridGui g = new GameGridGui();
  JFrame frame = new JFrame("My Minesweeper");
  frame.add(g);
  frame.setSize(400,400);
  frame.setDefaultCloseOperation(JFrame.EXIT_ON_CLOSE);
  frame.setVisible(true);
 }

And with that you have a basic Minesweeper GUI in Java.